
Why Roofing Decisions Require More Than Price Quotes
When you’re facing a roof replacement, it’s tempting to grab the lowest estimate and call it done. But roofing is one of the largest investments you’ll make in your home, and the numbers deserve careful attention. Over the next 20 to 40 years, your roofing choice affects energy bills, insurance rates, home value, repair frequency, and peace of mind. We’ve helped thousands of Louisville and Kentuckiana homeowners see beyond the initial price tag to understand the full financial picture.
This guide walks you through how to calculate real roofing ROI, what factors drive long-term value, and how financing and warranties change the equation. By the end, you’ll have the framework to compare quotes honestly and make a decision that actually pays dividends.
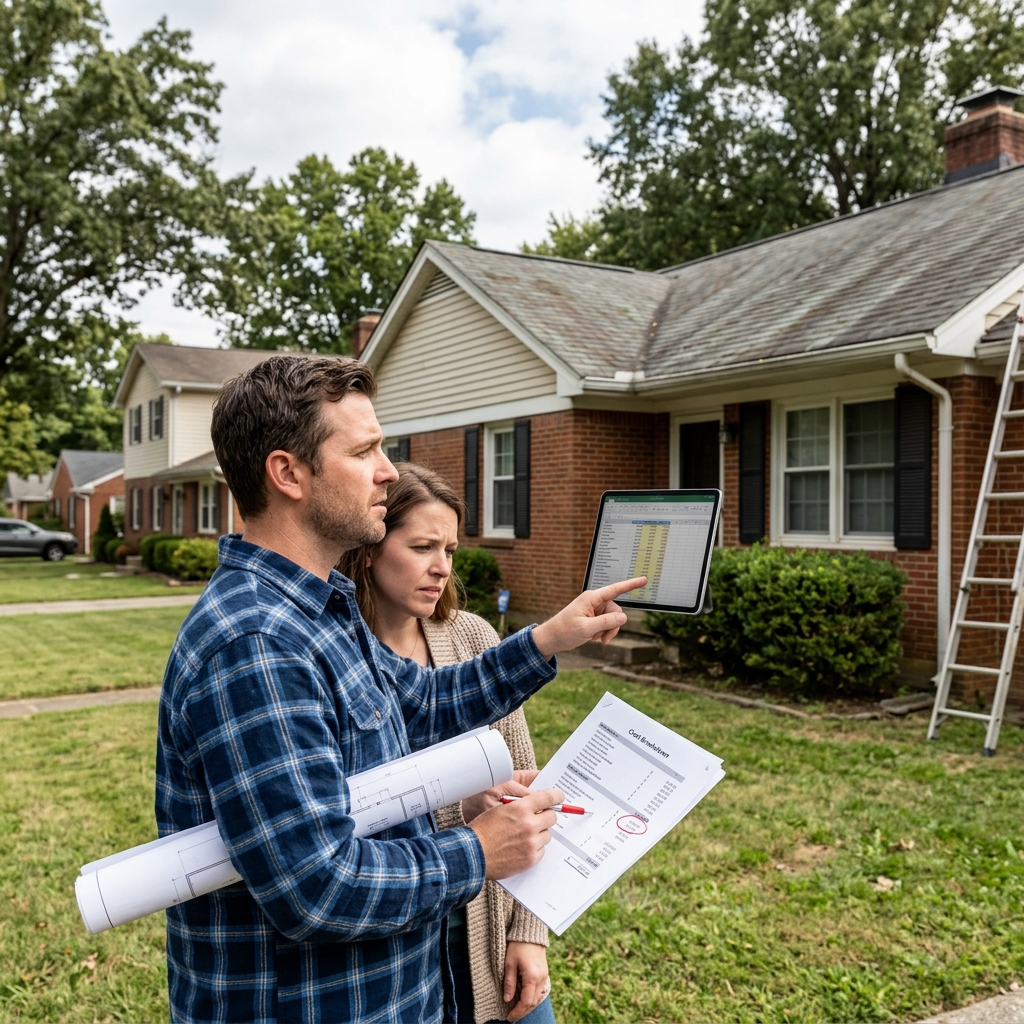
A roof quote is just the starting point. Two contractors might bid $12,000 and $16,000, but those numbers hide critical differences in material quality, lifespan, warranty terms, labor guarantees, and financing options.
Consider energy efficiency. A premium shingle or metal roof with reflective properties can reduce summer cooling costs by 10 to 15 percent in Kentucky’s humid climate. Over 25 years, that compounds into real savings. A bargain shingle won’t capture that benefit, and you’ll recoup some of the price premium through utility reductions alone.
Durability matters too. A budget roof might last 15 years before needing replacement; a premium option lasts 25 to 30. Each replacement cycle includes labor, waste, and disruption. When you factor in the cost of replacing a roof twice versus once, the higher upfront investment often becomes cheaper per year of protection.
Warranty coverage varies wildly. One contractor offers a 10-year labor warranty; another provides 25 years. If a leak develops at year 12, the first option leaves you paying for repairs out of pocket. The second backs your investment.
Insurance and resale value add another layer. Some insurance companies offer discounts for newer roofs or impact-resistant materials. Buyers expect a quality roof when considering a home purchase, and a newly replaced roof with transferable warranty can increase perceived value by 2 to 5 percent.
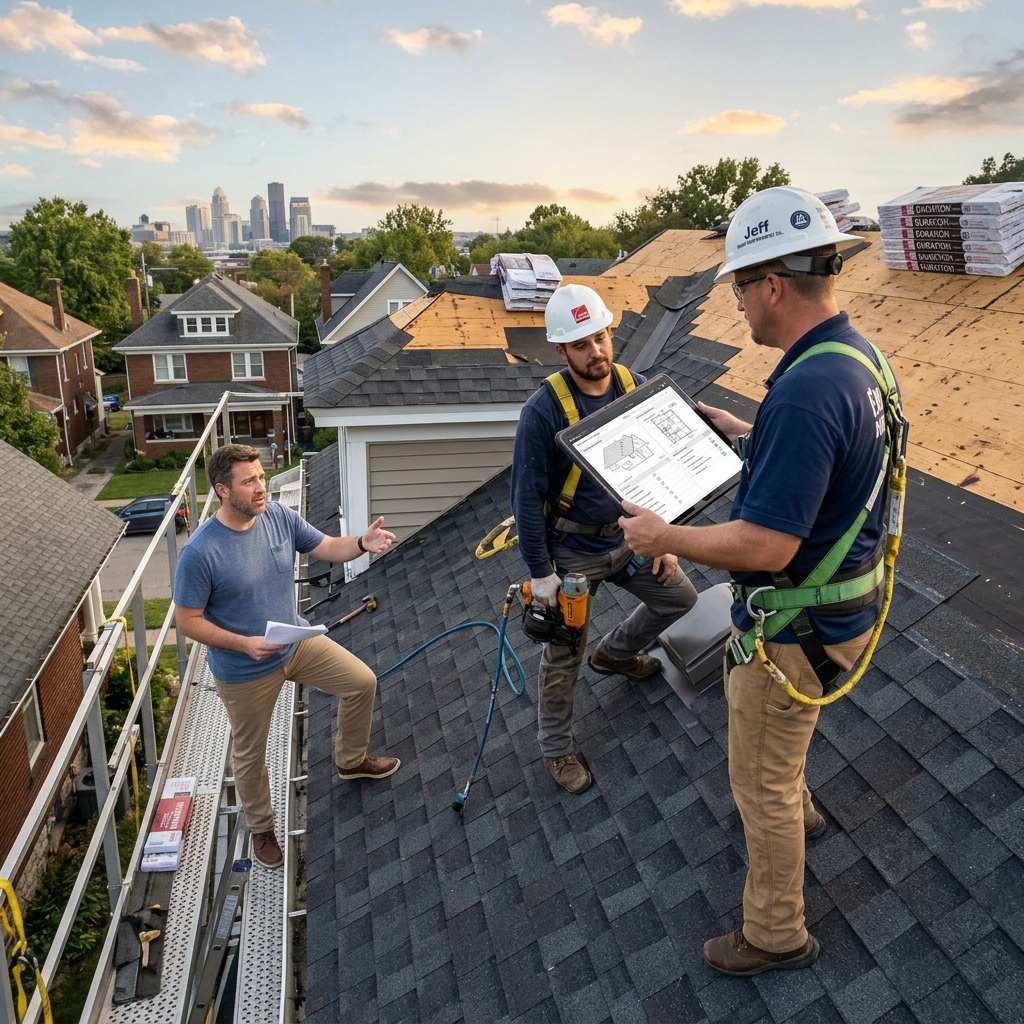
Our approach focuses on understanding your specific situation: the roof’s current condition, your timeline, your budget, and your long-term plans for the home. That context lets us build a recommendation tailored to your needs, not just your immediate budget constraint.
The True Cost of Delaying Your Roof Replacement
Procrastination on a failing roof costs money every day it sits. If your roof shows signs of age (curling shingles, missing pieces, visible wear), you’re not just risking major leaks; you’re potentially facing hidden damage that worsens rapidly.
Water intrusion in the attic or walls spreads quietly. A small leak at the roof penetration can lead to mold, wood rot, and structural deterioration that costs five to ten times the roof replacement bill to repair. Insurance may deny claims for water damage from a roof that was clearly failing and unmaintained, leaving you with the full repair cost.
Delayed replacement also impacts insurance. Carriers require roof replacements within 5 to 10 years of claim history in many cases, or they’ll drop coverage or raise premiums significantly. In Kentucky, where summer storms and hail occur regularly, a weak roof becomes expensive to insure.
Energy costs spike with an aging roof. Poor insulation, ventilation gaps, and deteriorating shingles compromise your home’s thermal envelope. A 20-year-old roof with compromised ventilation can add 15 to 25 percent to your cooling bills during Kentucky summers.
Resale complications arise too. Home inspectors flag old roofs immediately. Buyers either demand a replacement as a condition of purchase (shifting negotiating power away from you) or they walk away. You end up replacing the roof anyway, but now you’re doing it on a compressed timeline with less leverage on price.
The financial calculation is straightforward: replacing your roof now at current market rates, with available financing and incentives, typically costs less than replacing it in emergency conditions after weather damage, mold remediation, energy waste, and lost home value.
How We Calculate Long-Term Savings for Your Home
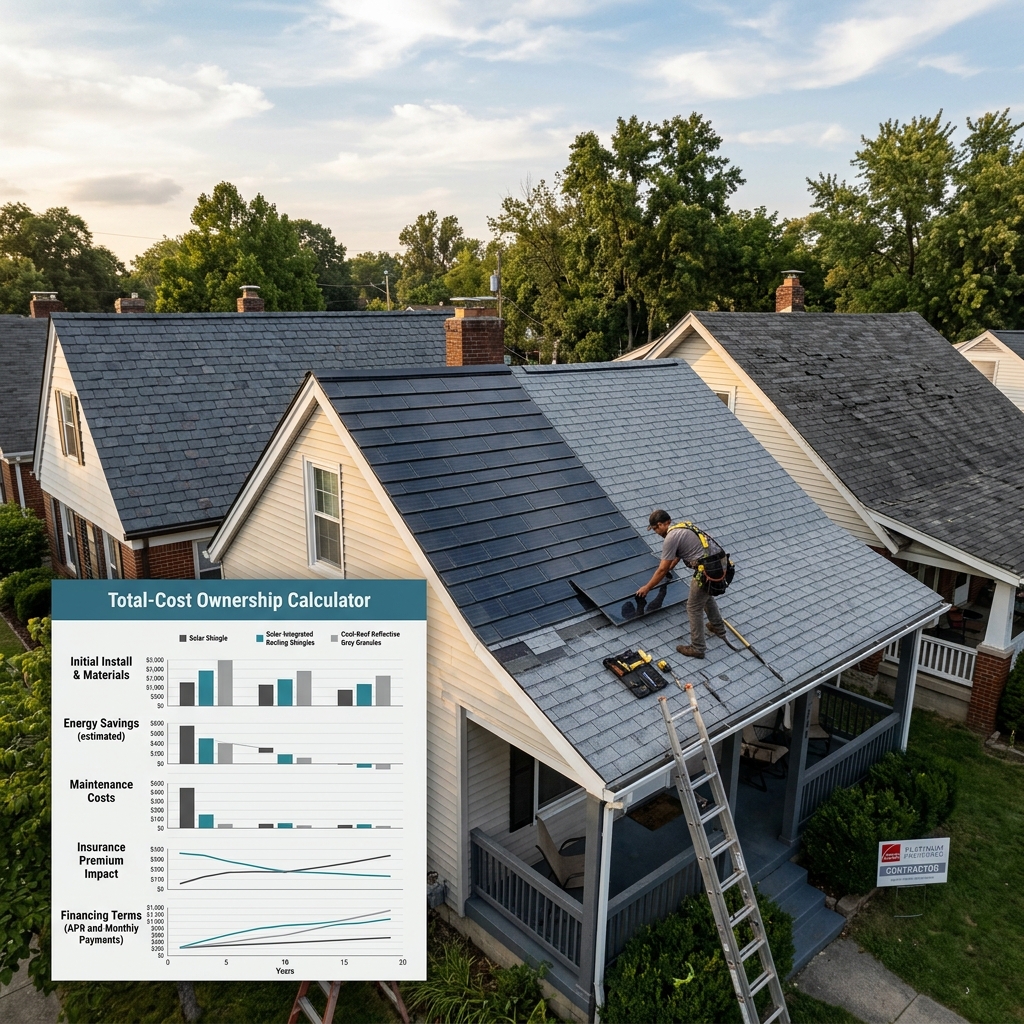
ROI on roofing comes down to comparing total lifecycle costs across different scenarios. We break this into five components:
Material and installation costs form the foundation. We get honest bids based on your home’s square footage, pitch, structural requirements, and local labor rates. A 2,000 square-foot roof in Louisville typically ranges from $12,000 to $22,000 depending on material choice and complexity.
Lifespan of the system determines how many replacement cycles you’ll face over 30 years. A 20-year shingle means one replacement in that period; a 30-year shingle or metal roof might mean none. Multiply the cost by replacement frequency to see the true per-year expense.
Energy efficiency gains reduce utility costs over time. We calculate this using your current cooling costs, local climate data, and the reflectivity rating of your chosen material. A metal roof in Louisville saves roughly $400 to $600 annually on cooling in a typical home.
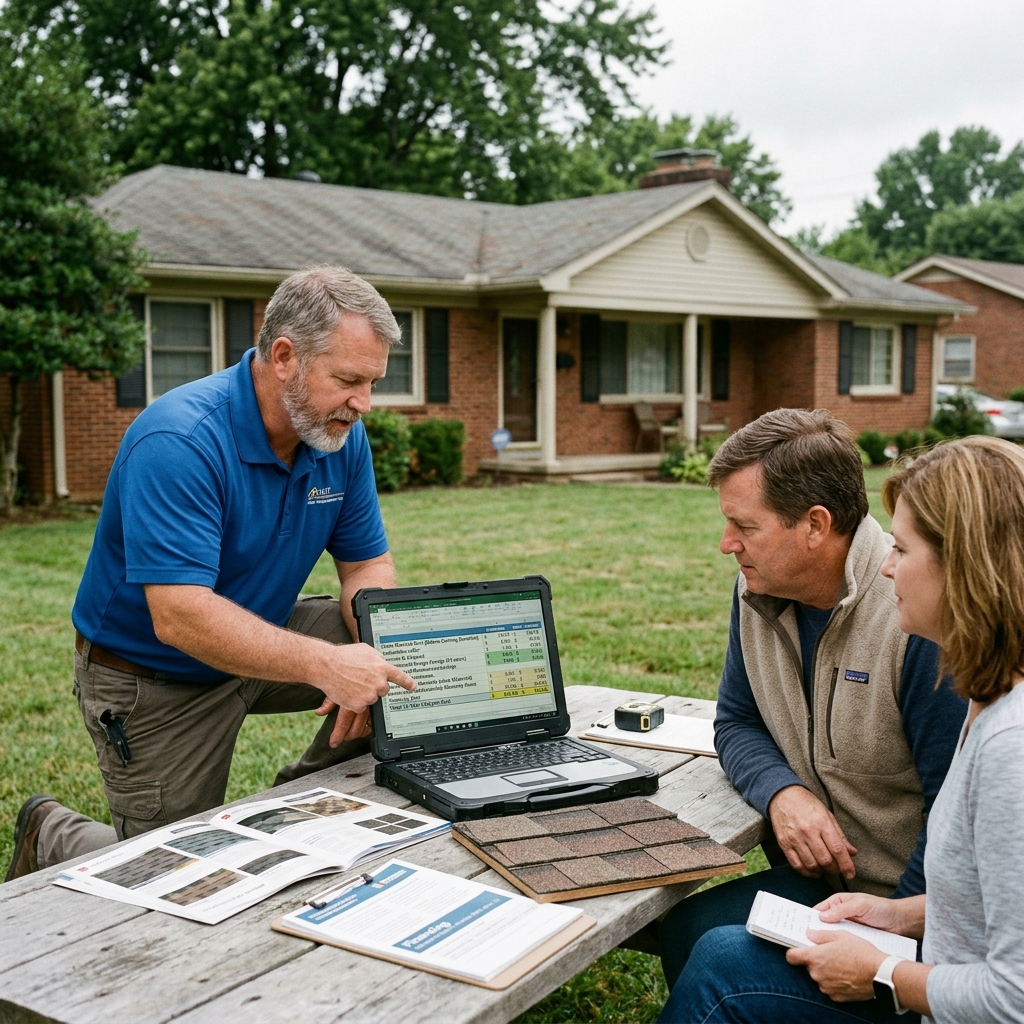
Maintenance and repair costs accumulate. A standard asphalt roof needs gutter cleaning, occasional patching, and inspections every few years. A metal roof requires minimal maintenance. A premium asphalt roof with our extended maintenance plan costs you zero in unplanned repairs.
Insurance and resale value adjustments round out the picture. We factor in any insurance discounts your new roof qualifies for and the typical 2 to 5 percent home value increase buyers attribute to a recently replaced roof with warranty.
Put together, a $18,000 premium roof with 30-year lifespan, $500 annual energy savings, $100 annual maintenance, and 3 percent home value increase often shows superior ROI compared to a $12,000 roof with 20-year lifespan and escalating repair costs.
Your next step: Get two detailed estimates that break down materials, labor, lifespan, and warranty terms separately. Ask each contractor about energy efficiency ratings and maintenance requirements. You’ll spot the real value differences quickly.
Warranty Coverage: What Actually Protects Your Investment
Warranty terms are where contractors create vastly different levels of customer protection. Understanding the difference is critical.
Material warranty covers manufacturer defects in the shingles or panels. Most run 20 to 30 years and are transferable to future owners, adding resale appeal. This is standard and expected.
Labor warranty covers the installation workmanship. This is where we see dramatic variation. Some contractors offer 10 years; we provide 25 years. If your roof develops a leak due to improper installation, a 10-year warranty leaves you paying for repairs at year 15. Our 25-year promise covers you through most of the roof’s lifespan.
Leak-free warranty is a premium offering we extend to customers who choose certain material and maintenance plan combinations. This guarantees that if you follow recommended maintenance, you won’t pay for leak repairs during the warranty period.
Transferability matters for resale value. A non-transferable warranty dies when you sell the home. A transferable warranty transfers to the new owner, making the home more attractive and justifying a higher sale price.
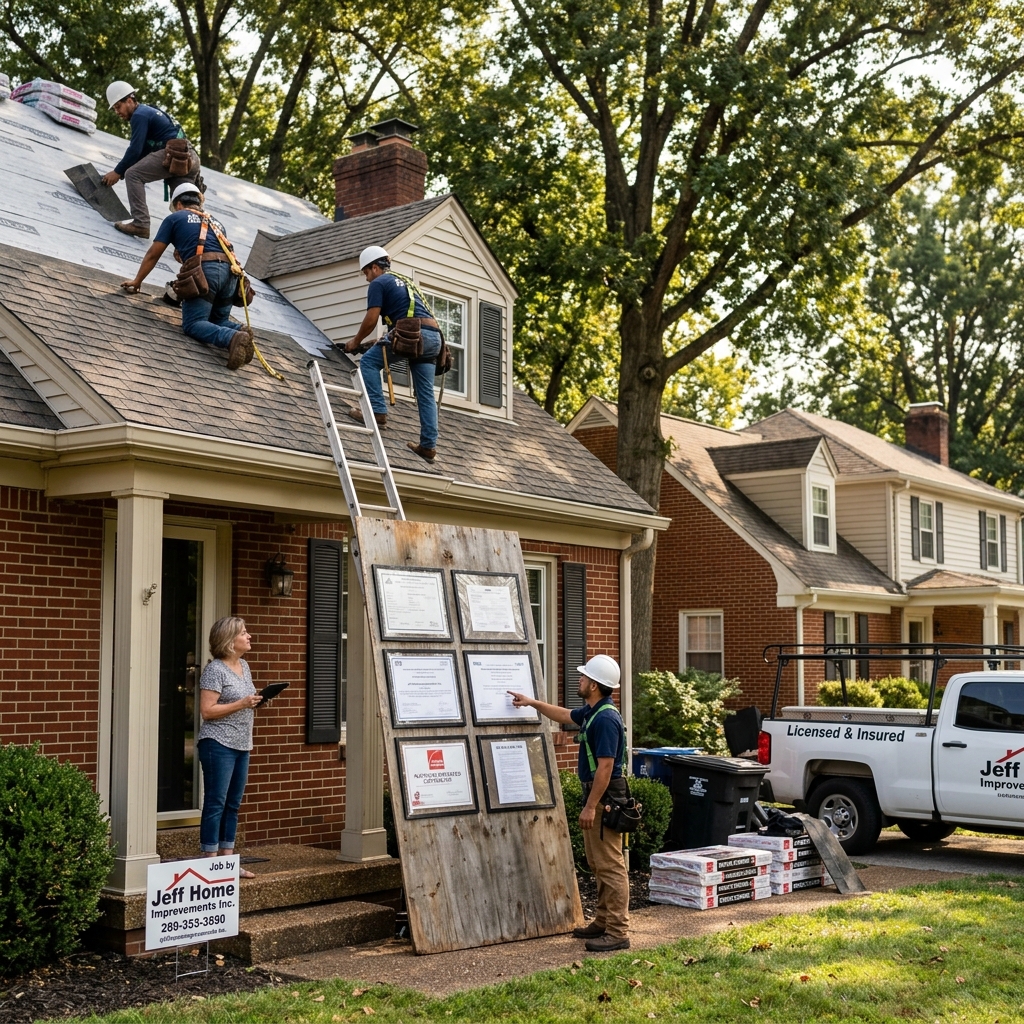
Exclusions and conditions hide in the fine print. Some warranties exclude storm damage, ice dams, or deterioration from lack of maintenance. Others require you to use their maintenance program or photos documenting the roof annually. Read the actual warranty document, not the sales sheet.
We provide detailed warranty documentation with every project and explain exactly what’s covered, what isn’t, and what actions maintain coverage. This transparency prevents surprises years down the road.
Financing Options That Make Premium Roofing Accessible
A $18,000 roof is a large expense, and the best material often costs more upfront. Our financing options let you choose the roof you actually want, not just the one you can pay cash for today.
0% APR financing for 12 to 24 months moves the payment into monthly installments without interest charges. A $18,000 roof becomes roughly $750 per month over 24 months. For most homeowners, spreading this across monthly budgets works better than one large lump sum.
Traditional home equity lines of credit (HELOC) let you borrow against your home’s equity at rates typically lower than credit cards. Current Kentucky rates run 7 to 9 percent, and interest may be tax-deductible (consult your accountant). This works well if you have substantial equity and don’t mind a variable rate.
FHA 203k loans are structured specifically for home improvements and repairs. These allow you to refinance or establish a new mortgage that includes the roof replacement cost. Monthly payments spread over 15 or 30 years, and rates are often favorable compared to HELOC or credit cards.
Cash-out refinancing lets you refinance your existing mortgage for a higher amount and pocket the difference as cash for the roof. This works if current rates are favorable or if your goal is to consolidate high-interest debt alongside the roof replacement.
Our direct financing partnerships simplify the process. We’ve pre-arranged relationships with lenders who understand home improvement projects and can approve applications quickly. Many customers receive funding approval within 24 hours.
Compare total interest paid across options. A $18,000 roof at 8 percent over five years costs roughly $3,500 in interest; at 6 percent it’s $2,900. That difference matters. Calculate the monthly payment against your budget and choose the option that balances affordability with total interest cost.
Our Maintenance Plans and Extended Protection Benefits
A premium roof is an investment, and like any investment, it requires care to deliver maximum returns. Our maintenance plans keep your roof performing optimally and preserve warranty coverage.
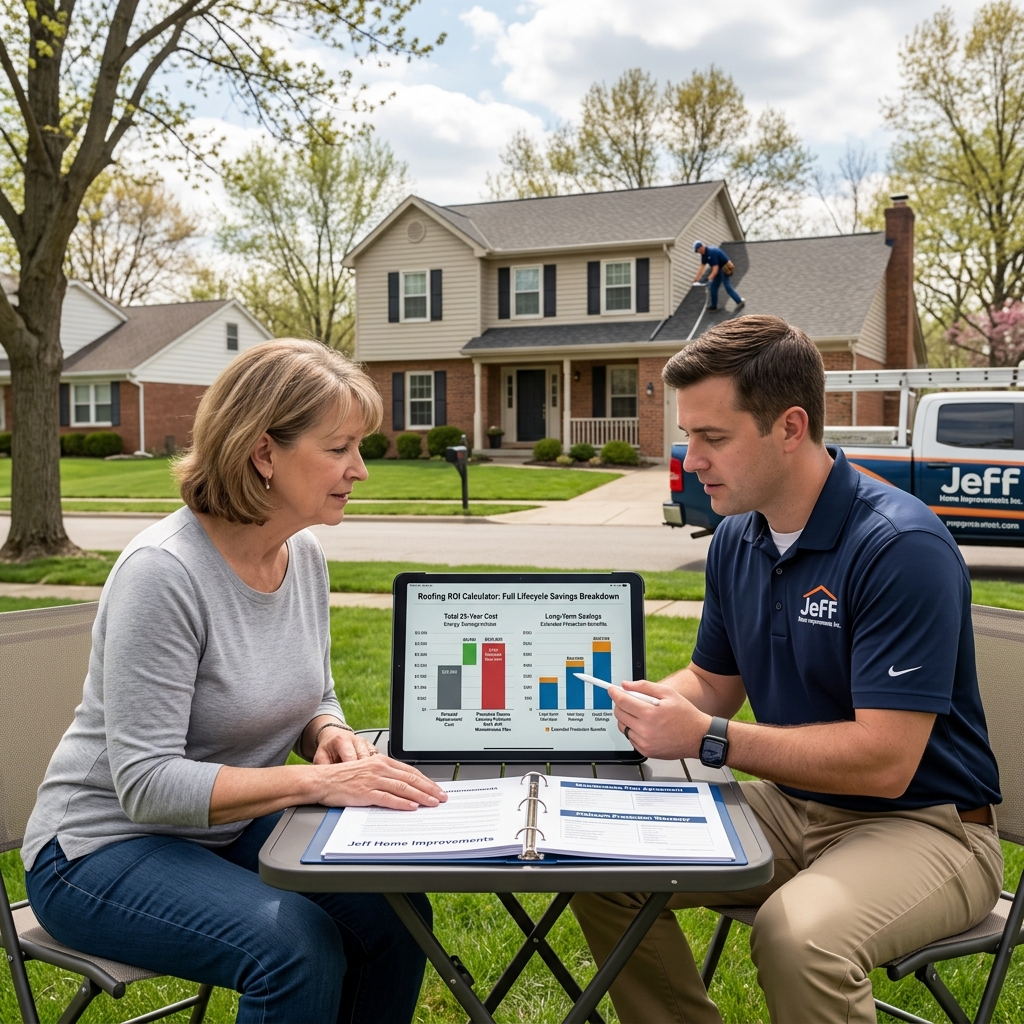
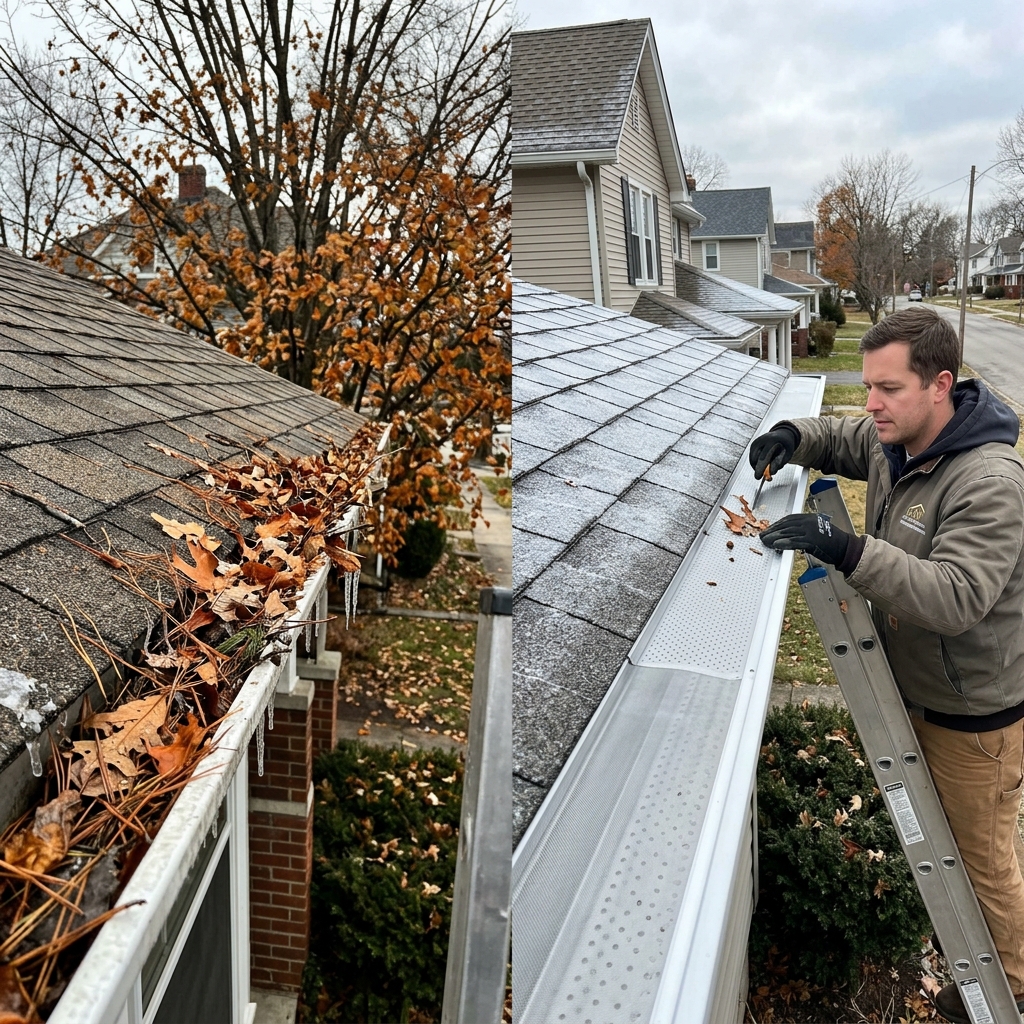
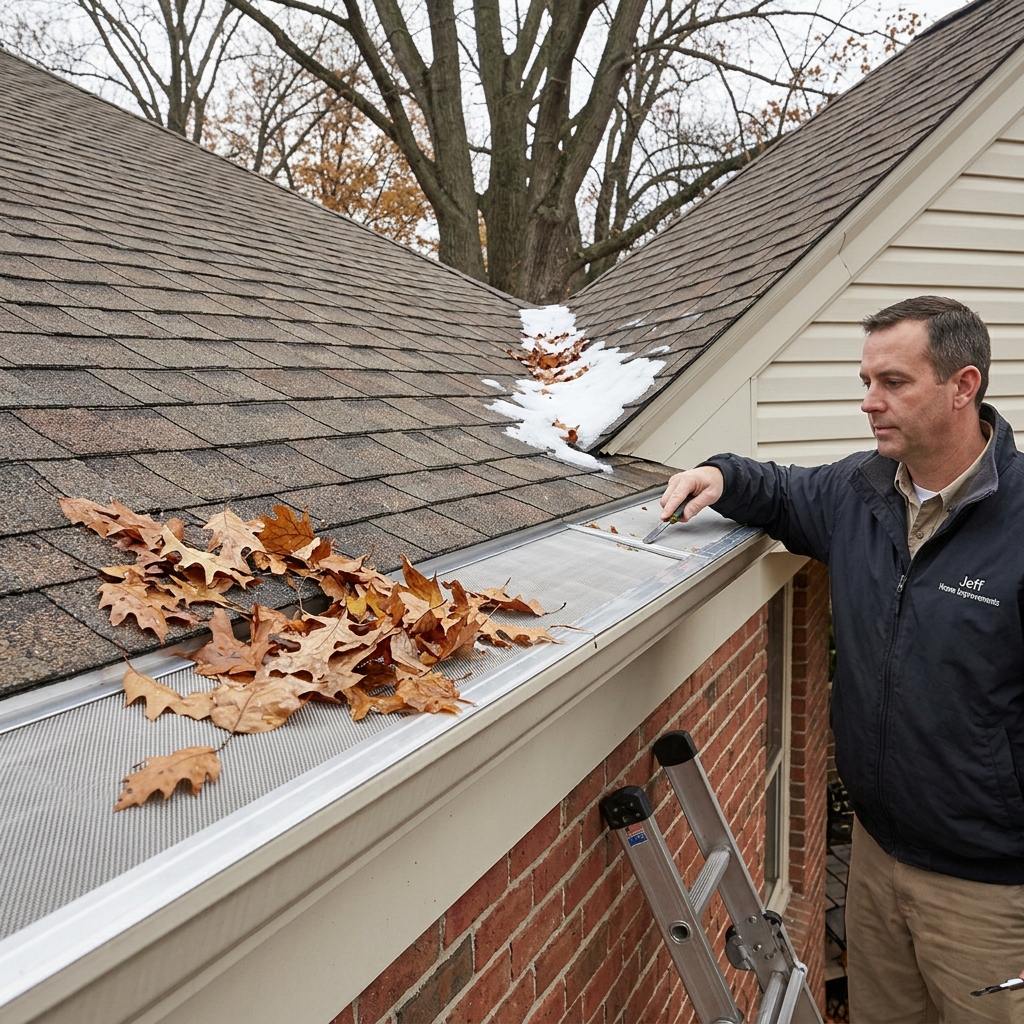
Spring inspection checks for winter damage: cracked shingles, ice dam damage, debris accumulation, and ventilation blockages. We clear gutters, address minor issues, and document the roof’s condition. This runs roughly $150 to $250 annually.
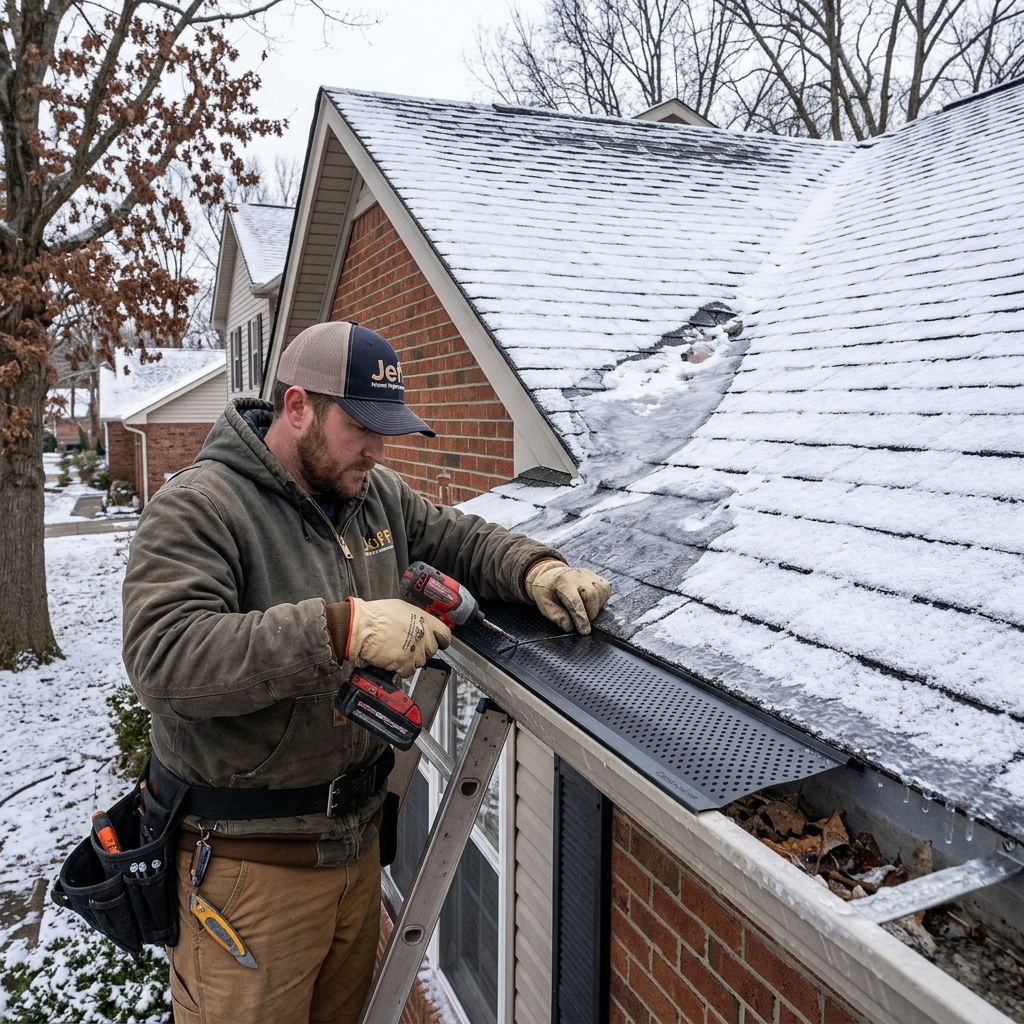
Fall preparation ensures your roof handles upcoming winter weather. We inspect flashing, seal any gaps, trim overhanging branches, and confirm proper gutter function. Another $150 to $250.
Annual monitoring tracks your roof’s performance between inspections. We respond quickly to weather events and assess damage before insurance companies do, positioning you to file accurate claims.
Extended coverage adds more value. Our full maintenance plan includes repair credits (typically $500 to $1,000 annually) that roll forward if unused, emergency storm response within 48 hours, and continued warranty validation through documentation. Annual cost typically runs $400 to $600 depending on roof size and complexity.
The math is compelling. A maintenance plan costs $500 annually. Over 25 years, that’s $12,500 total. But it prevents the $2,000 to $5,000 repairs that emerge from deferred maintenance, preserves your warranty coverage, catches small issues before they become large ones, and ensures your roof maintains its resale value. Customers on maintenance plans report zero unplanned roof-related expenses and consistently higher home appraisals.
Using Our Instant ROI Calculator to Compare Your Options
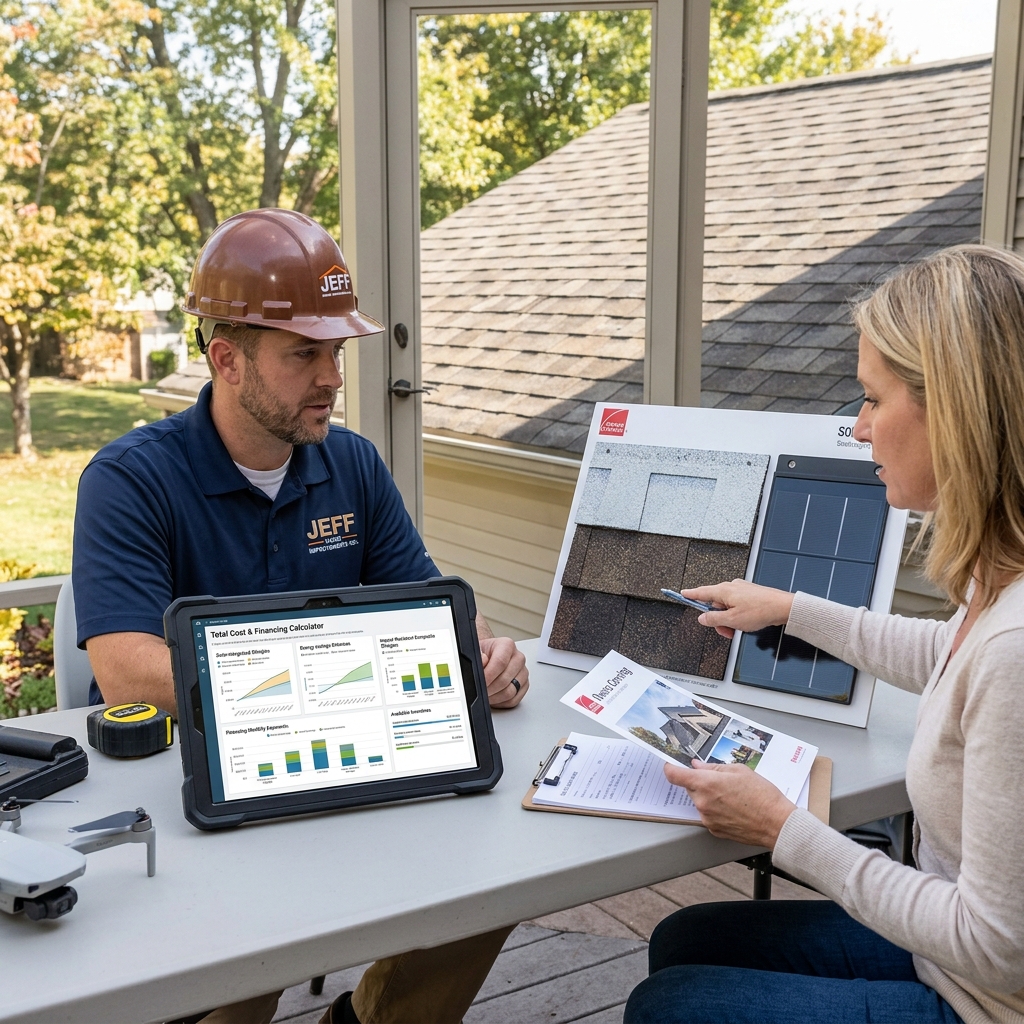
Comparing roofing options gets easier when you run the numbers through a structured calculator. We’ve built ours to account for the factors that actually impact your bottom line.
Input your home’s square footage and current roof age. The calculator estimates replacement cost for three material tiers: budget asphalt, premium asphalt, and metal. You immediately see the price difference.
Next, it projects lifespan for each option. Budget material typically lasts 15 to 20 years; premium asphalt runs 25 to 30; metal can exceed 40. The calculator shows total replacement cycles you’ll face over your chosen timeframe (typically 25 to 30 years).
Energy savings come next. Enter your current monthly cooling bill (or let us estimate based on average Kentucky usage), and the calculator applies the efficiency gains of each material type. Metal roofs and premium reflective shingles save the most; standard asphalt saves less.
Annual maintenance costs factor in. Budget roofing requires more repairs and attention; premium options with maintenance plans cost more upfront but generate fewer surprises.
The calculator totals everything: material, labor, replacements, energy, maintenance, and financing costs if you choose a loan. Then it shows annual cost per year of protection, total 30-year expense, and ROI impact on home value.
Most Kentucky homeowners discover that the premium option costs 15 to 25 percent more upfront but costs 10 to 15 percent less over 30 years when all factors combine. That’s not hype; that’s data.
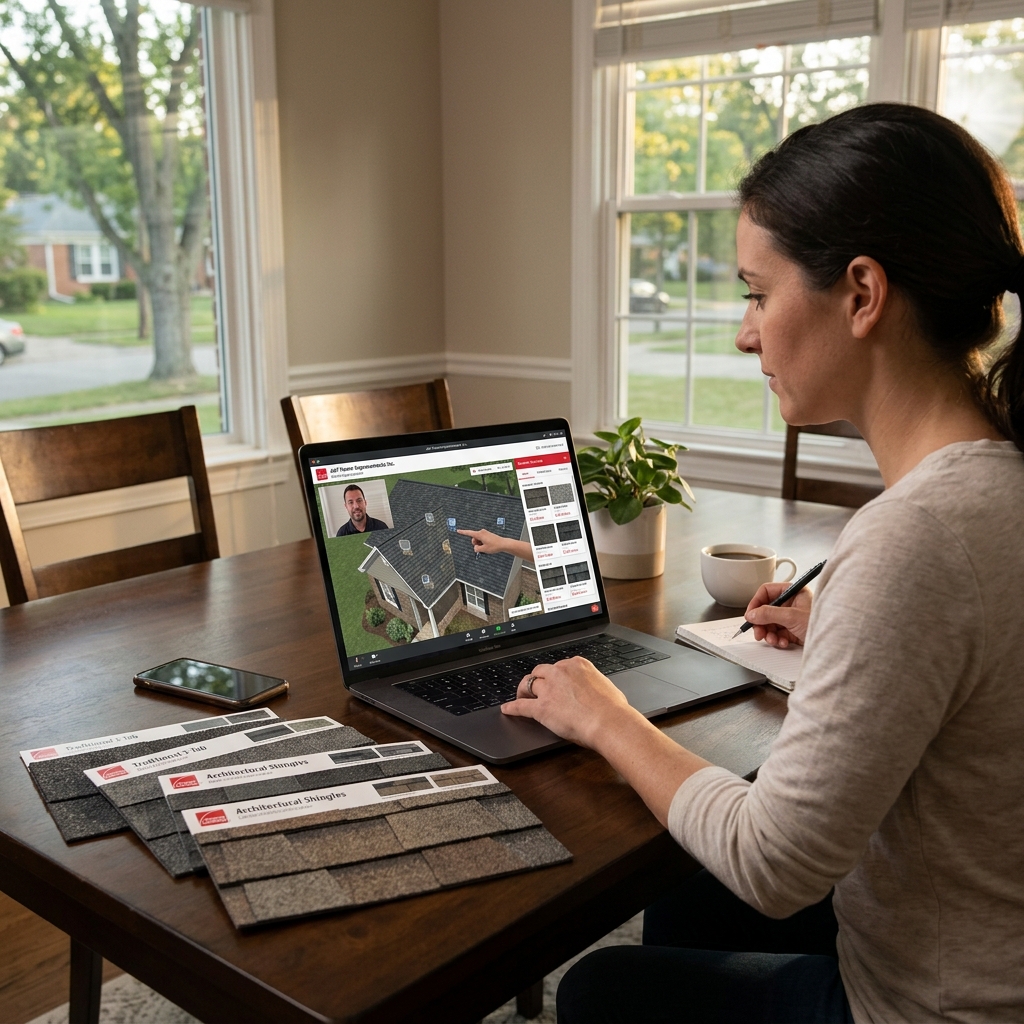
Access our calculator on our website, or schedule a virtual consultation where we run the analysis together. We can model different financing options and show you how extending the payment term reduces monthly impact while increasing total interest (and vice versa).
Storm Damage Repairs: When Your Investment Pays Immediate Dividends
Kentucky experiences severe weather regularly: spring hail, summer storms, and winter ice events. When your roof sustains damage, the ROI equation shifts dramatically.
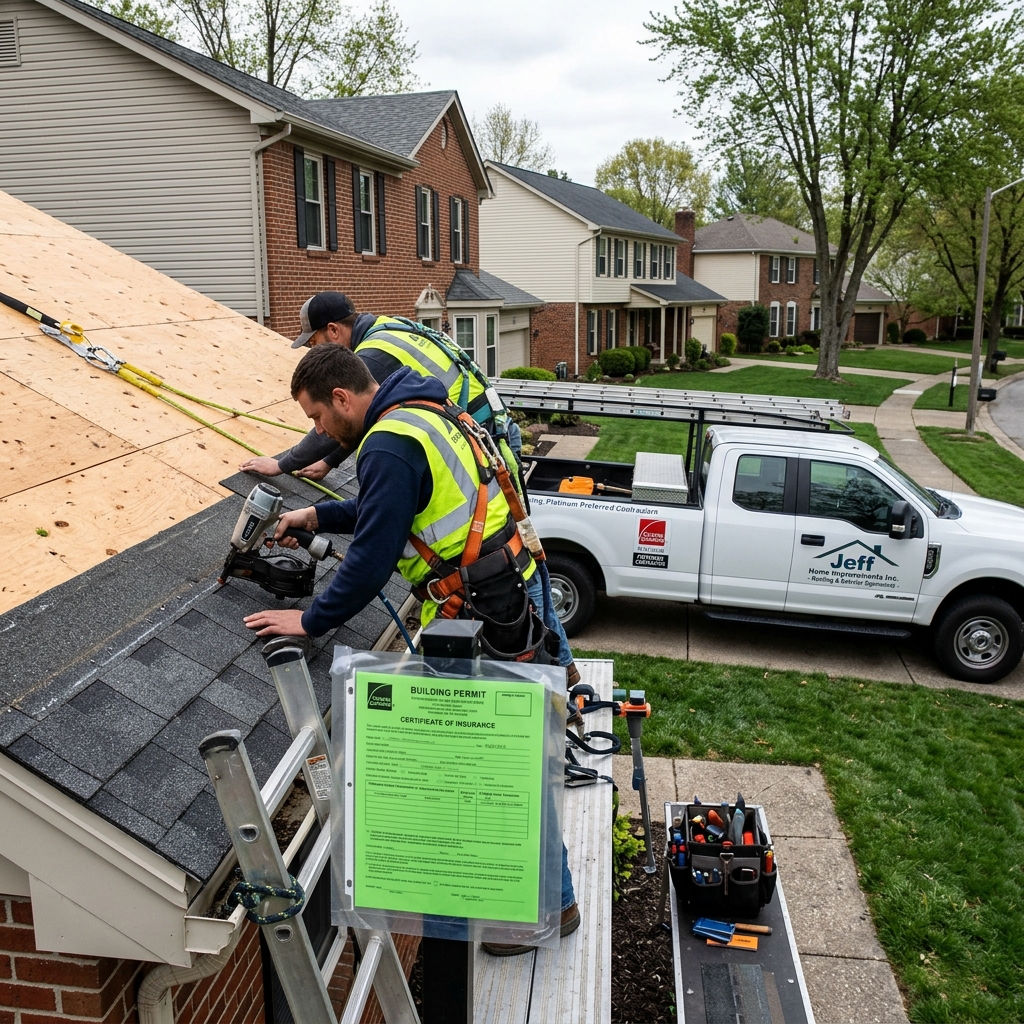
A storm-damaged roof that you replace immediately qualifies for insurance coverage. Your homeowner’s policy typically covers the full replacement cost (minus your deductible) when the damage is documented and the repair is completed by a licensed contractor. This makes the effective out-of-pocket cost your deductible only, typically $500 to $1,500.
We handle the documentation and insurance process for you. We inspect the damage, photograph it, file the claim on your behalf, and work directly with the adjuster. Most claims we file are approved within two weeks, and the insurance check covers the bulk of replacement costs.
A storm-damaged roof that you delay repairing gets worse. Water intrusion leads to mold, wood rot, and structural damage. Insurance will deny subsequent claims if the damage resulted from a roof that was previously identified as compromised and not repaired. You lose insurance coverage and face exponentially higher repair costs.
If your roof sustains storm damage and you were already considering replacement, the damage actually improves your financial position. You’re accessing insurance money toward a replacement that makes sense anyway. The effective ROI becomes nearly 100 percent because the insurance covers most of the cost, and you get a new roof that performs for 25 to 40 years.
Document any storm-related concerns immediately. If you notice a leak, missing shingles, or visible damage after weather events, contact us within 48 hours. We’ll assess whether it’s insurable and help you file a claim properly. Many homeowners don’t realize their damage qualifies for insurance coverage because they don’t get a professional evaluation.
Tax Credits and Incentives for Your Exterior Upgrade
Federal and state tax credits can reduce the effective cost of a roofing replacement, especially if you choose energy-efficient materials.
Federal energy tax credits for 2026 allow homeowners to claim up to $3,200 in credits for qualifying energy-efficient home improvements, including roofs with specific reflectivity ratings and metal roofs. These are credits, not deductions, meaning they reduce your tax liability dollar-for-dollar. A $18,000 premium roof might net you a $3,200 credit, reducing your true cost to $14,800.
Eligibility requires the roof to meet Department of Energy efficiency standards. Metal roofs and premium asphalt shingles with ENERGY STAR or similar ratings typically qualify. Standard asphalt does not.
State incentives vary. Kentucky currently offers property tax exemptions for solar energy systems but limited tax breaks specifically for roofing. However, some utility companies offer rebates for cool roofs that reduce cooling costs in summer. Check with your local electric and gas providers.
Energy audits sometimes qualify for grants or low-interest loans through Kentucky state programs or local utility companies. If you’re making multiple exterior improvements (roof, windows, insulation), combined energy upgrades may open funding doors that standalone roofing doesn’t.
Keep all receipts and documentation from your contractor. The tax credit requires proof that the work was completed and paid for. We provide itemized invoices and can include ENERGY STAR documentation to streamline the credit application process.
Talk to your tax preparer before choosing your roofing material. In some cases, the tax credit difference between material options is substantial enough to justify a higher upfront cost that’s more than offset by the federal credit.
Owens Corning Platinum Benefits and Extended Coverage
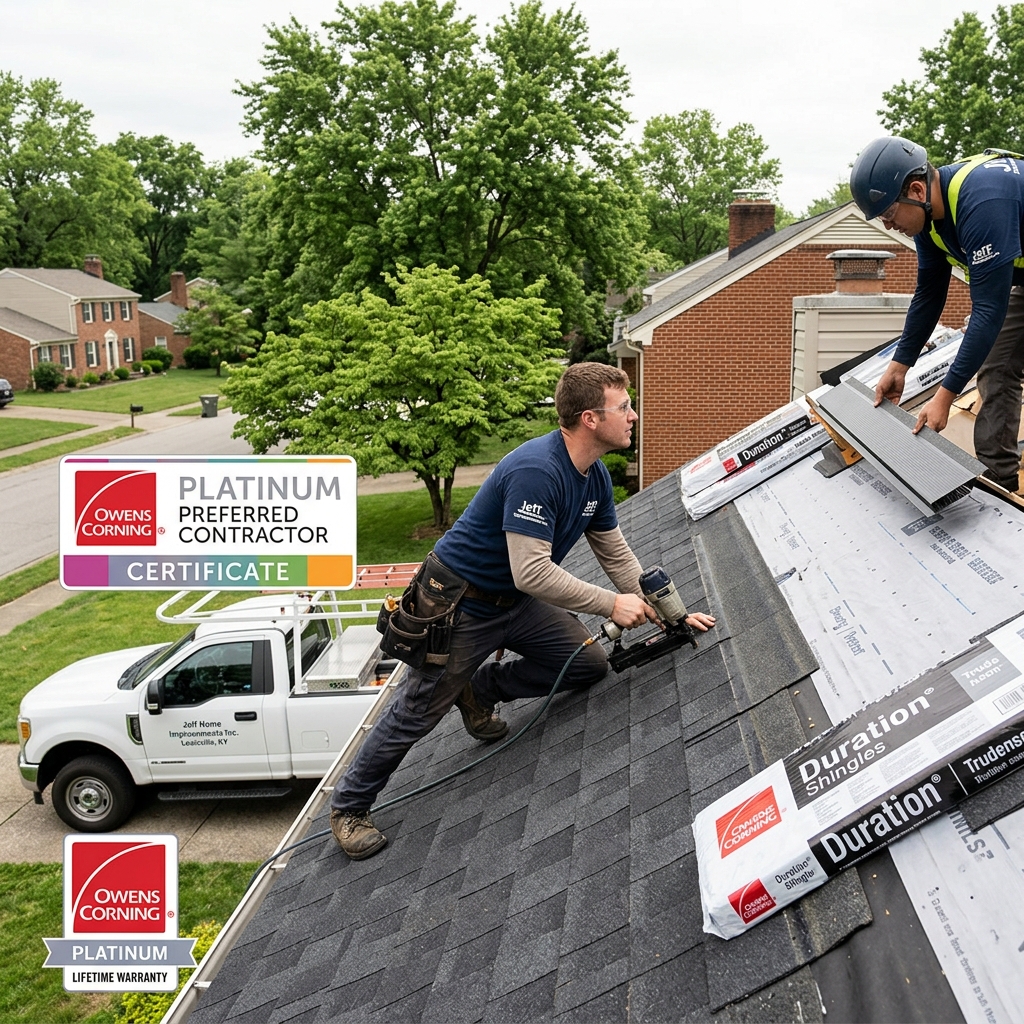
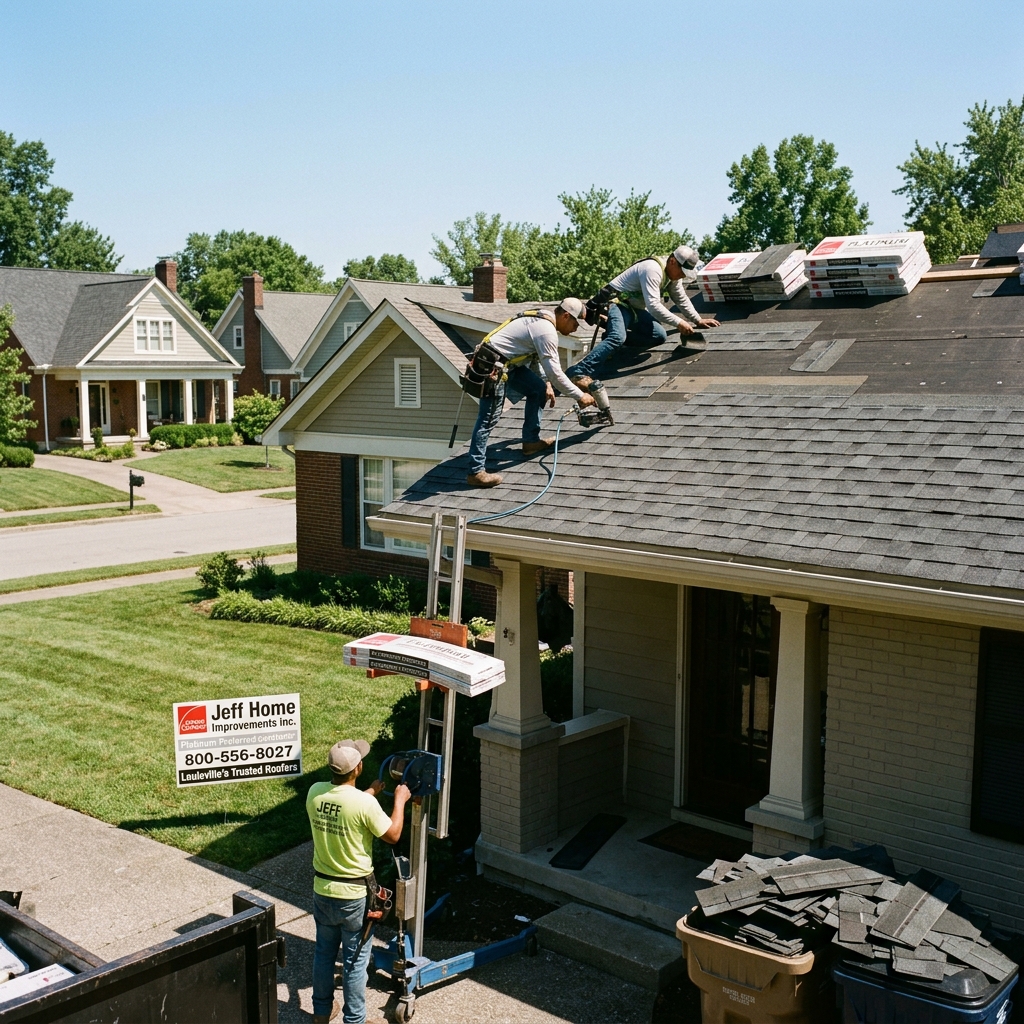
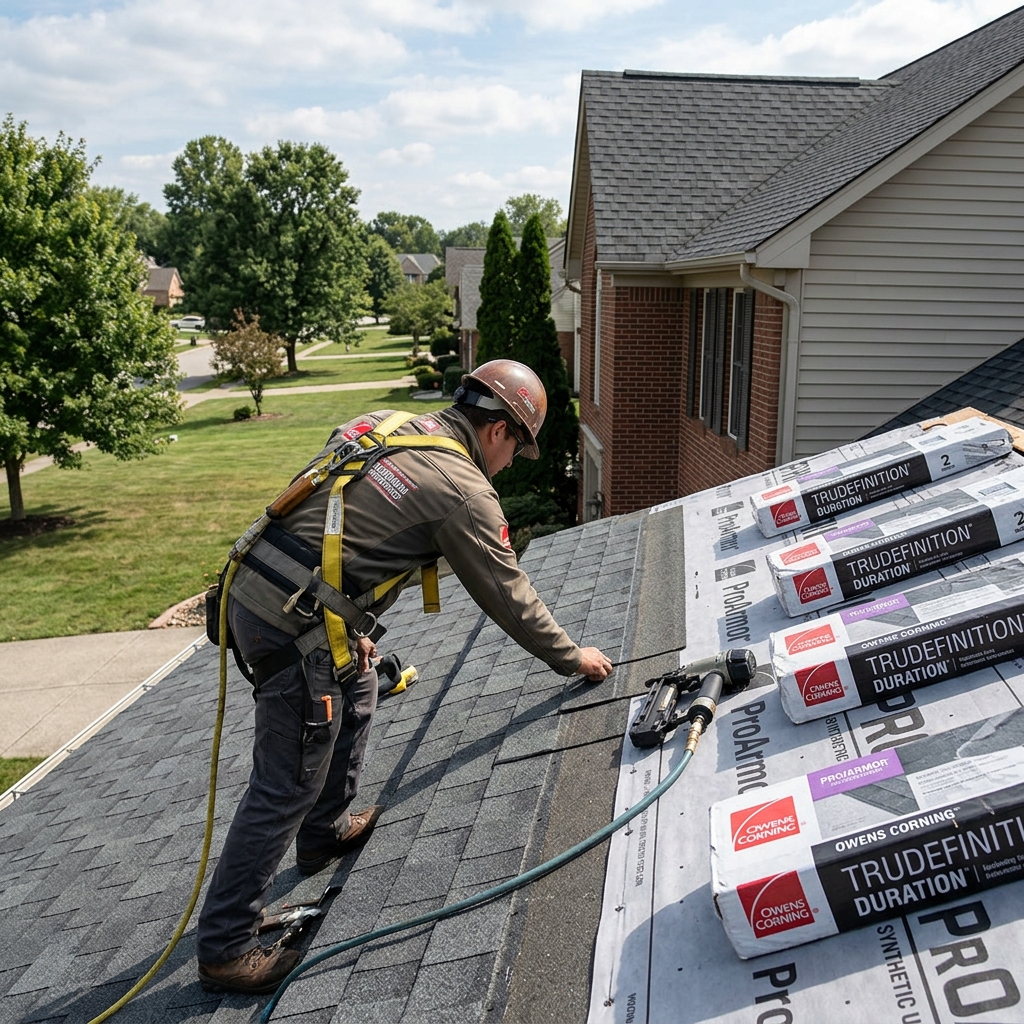
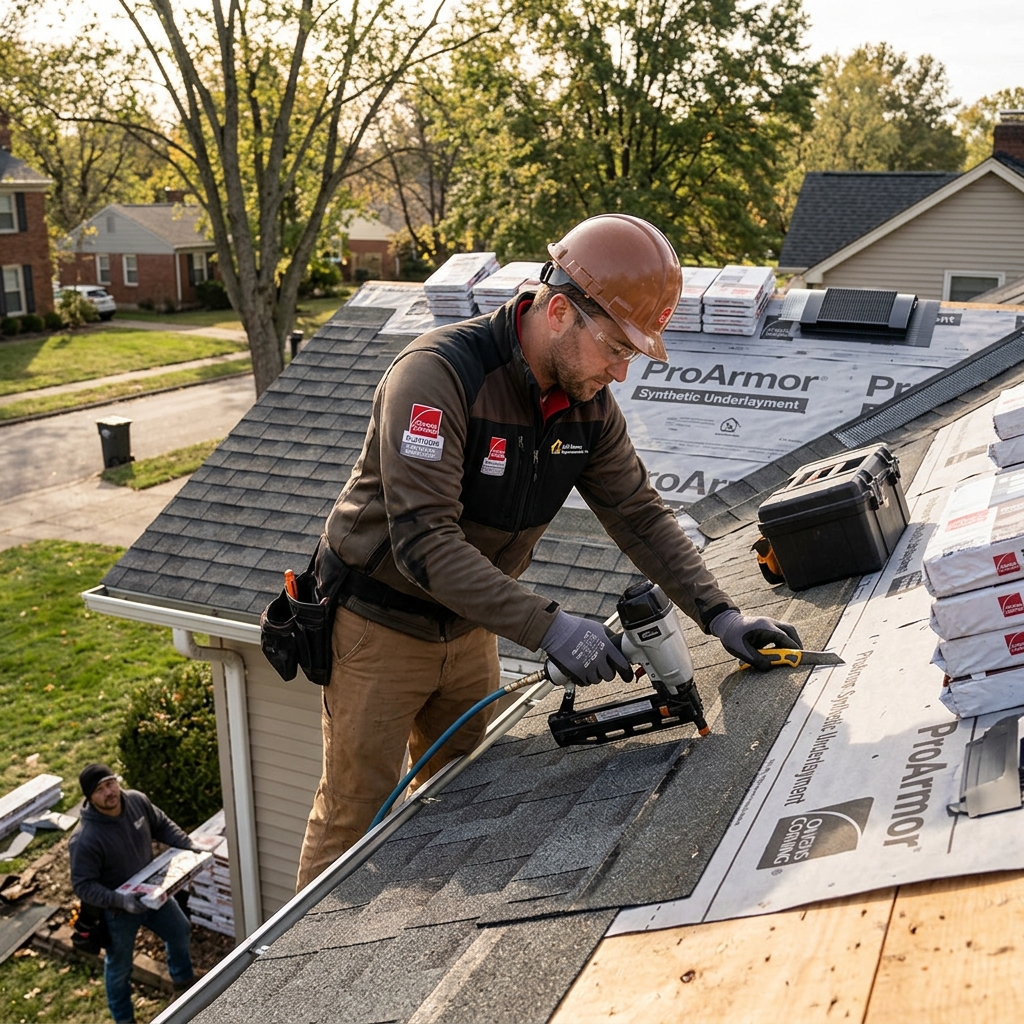
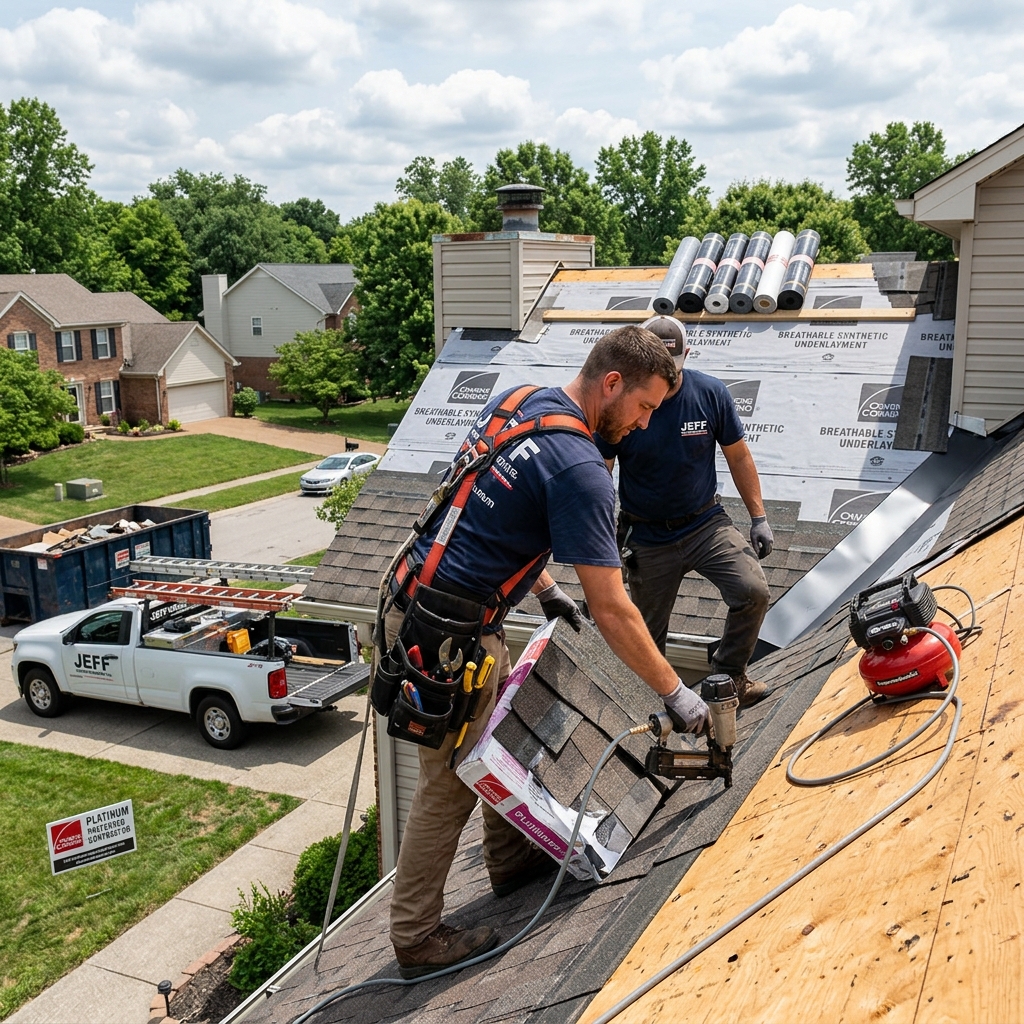
As an Owens Corning Platinum Preferred Contractor, we’ve earned certification through rigorous training, quality standards, and customer satisfaction metrics. This status directly benefits our customers.
Owens Corning Platinum contractors get exclusive access to extended warranty programs unavailable to standard installers. We can offer the SureNail Advanced Protection Warranty, which provides enhanced labor coverage and faster claim processing compared to standard warranties.
Platinum certification also qualifies our customers for Owens Corning’s fastest-claims program. If you file a warranty claim on your roof, Owens Corning prioritizes it for investigation and resolution, often completing the process in weeks rather than months.
We maintain inventory of premium Owens Corning shingles and materials that standard contractors don’t stock. This means we can begin your installation faster and aren’t constrained by supplier delays that plague less-established contractors.
The Owens Corning Platinum relationship also ensures we stay current on the latest material innovations and installation techniques. We benefit from training that standard contractors skip, and that training directly translates to higher-quality installations and fewer future problems.
When you work with us, you’re not just getting a contractor; you’re accessing Owens Corning’s warranty infrastructure and accelerated claims support. Combined with our 25-year labor warranty, this creates one of the strongest protection packages available in Kentucky.
Start Your Free Virtual Consultation and Instant Estimate Today
Everything in this guide points toward one practical truth: your roofing ROI depends on getting detailed, honest information about your specific situation. Generic advice doesn’t account for your home’s condition, your timeline, your budget, or your long-term plans.
We offer free virtual consultations where you can show us your roof via video, discuss your concerns, and get honest assessment without pressure. We’ll explain the condition of your current roof, discuss timing, explore material options, and run ROI calculations specific to your home.
If you’re ready to move forward, we provide instant estimates based on your home’s details. These estimates include material costs, labor, warranty terms, financing options, and energy savings projections. You’ll have the numbers you need to compare confidently against other contractors.
Many Kentucky homeowners start with a virtual consultation as a sanity check. They compare our analysis against another contractor’s estimate and find the details matter enormously. We’re confident that when you see the full ROI picture, our recommendations and pricing stand up to scrutiny.
Contact Jeff Home Improvements Inc. to schedule your free consultation. You’ll spend 20 minutes on video with a roofing specialist, get professional assessment of your roof, and leave with a clear understanding of your options and true costs. No obligation. No sales pressure. Just honest expertise on how to protect your home and maximize your investment.
Contact us today for a free in home, no obligation quote on your roof






 INDIANA
 KENTUCKY